What Amber is used for
Amber is Beast of Reincarnation's main currency, and it quietly controls your pace through the whole campaign. It's used to purchase items from Brad and wandering merchants (recipes, manuals, Spirit Stones, Skill Ambers), to enhance weapons at the Workbench, and — once you unlock the Cleanse Walker Communicator near the end of Chapter 2 — to reset Emma's or Koo's attribute and skill points if you want to rebuild your setup. Don't confuse regular Amber with Skill Ambers, which are a separate equippable item tied to Koo's own growth line covered in our Koo guide and Spirit Stones guide.
The four income sources
Tested farming guides agree on four repeatable ways to bring in Amber during normal play, roughly in order of how much they contribute over a full run:
- Collect Amber Butterflies. One of the easiest sources — grab them whenever you spot one while exploring, since they cost nothing but a short detour.
- Hit Amber Crystals. Crystals are scattered throughout every map and break for Amber on contact; make it a habit to smash every one you walk past.
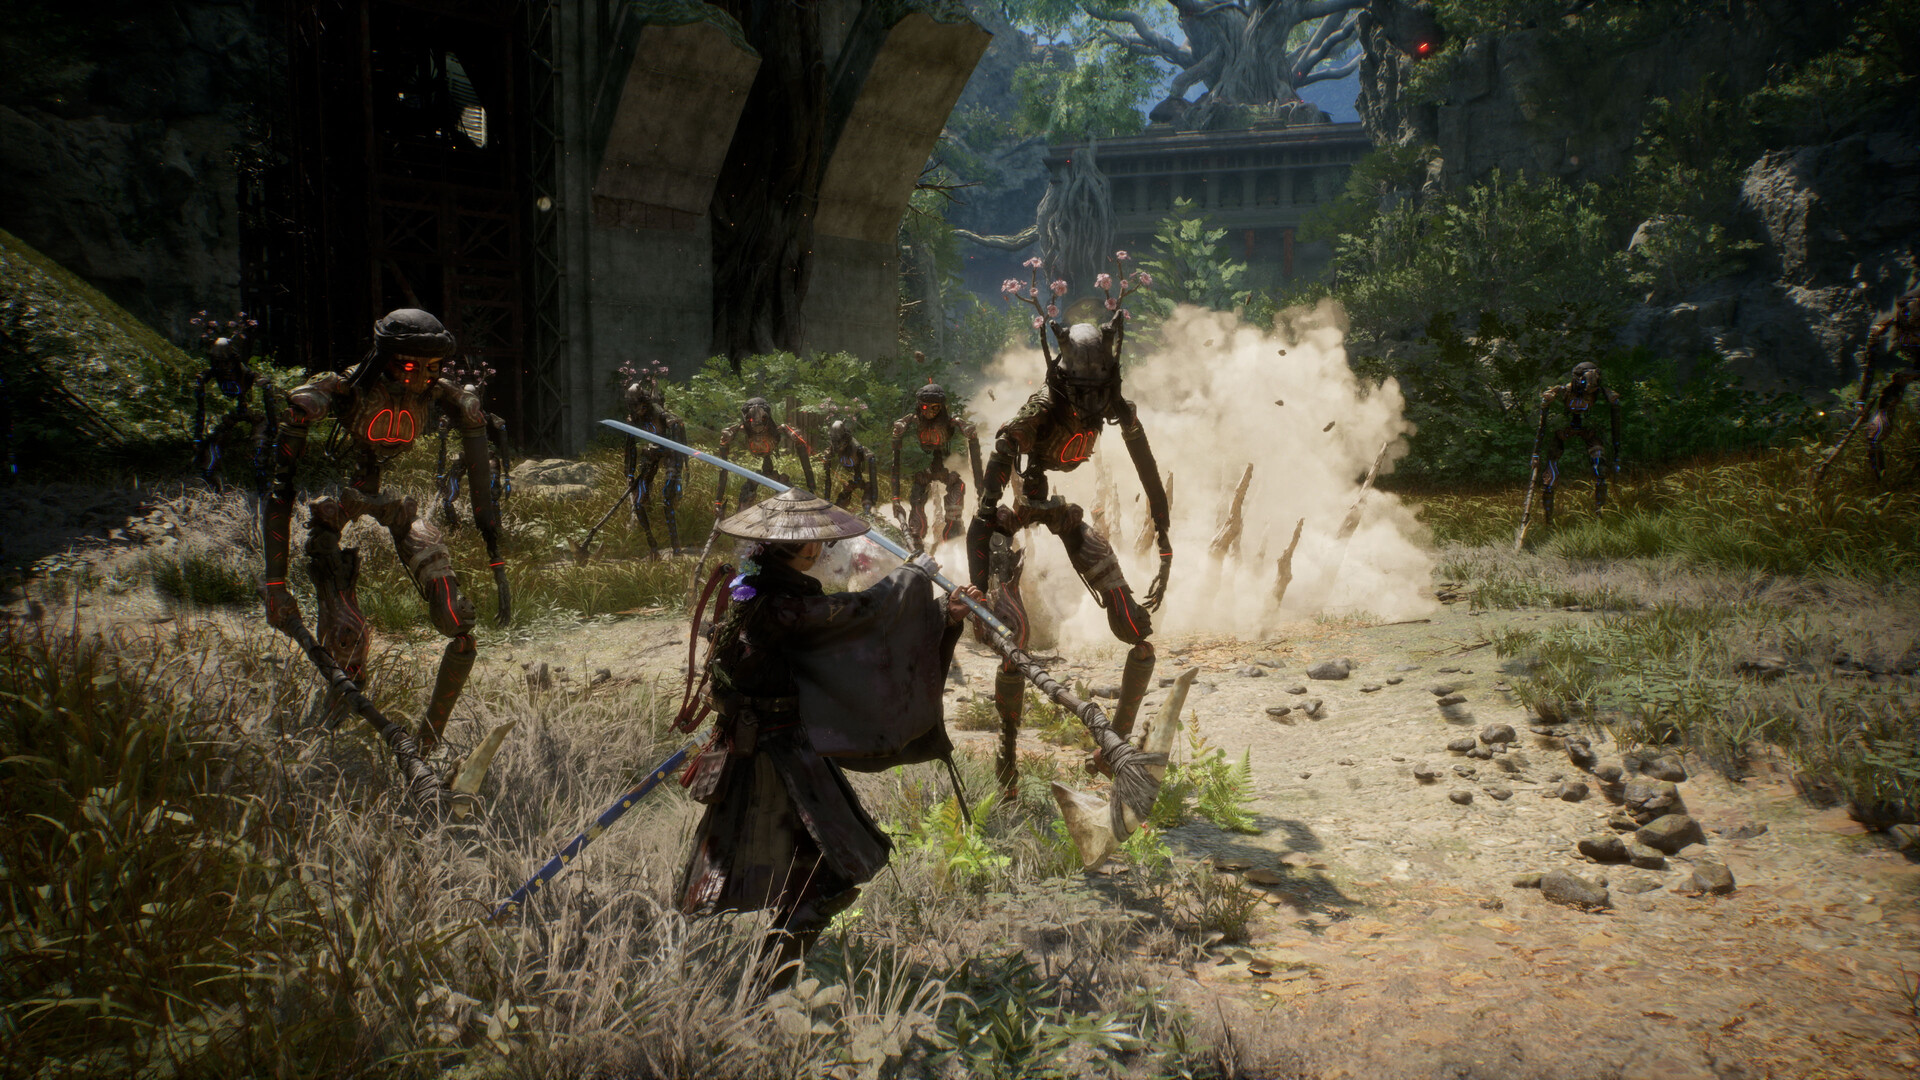
- Defeat enemies. Regular kills reward Amber, and farming enemy packs near campsites is efficient since campsites double as fast-travel points you can loop back to.
- Open strongboxes. Strongboxes scattered across each region sometimes contain Amber directly, and other times hold Spirit Stones, armor, or crafting materials you can sell for it instead.
Koo adds a fifth layer on top of all four: he actively points toward hidden loot and rest points during exploration (see our Koo guide for the full breakdown of his out-of-combat role), which effectively means bringing Koo along and following his cues is itself a farming method — one tested guide frames sweeping each new area with Koo active as the single highest-value habit for Amber income overall.
Named early-game farming spots
| Location | Chapter / region | Estimated rewards |
|---|---|---|
| Cliff Facing Tower | Chapter 1, Ogouchi Buffer Zone | ~150 XP, ~1,500 Amber per sweep |
| Flower Field Tower | Chapter 3, Great Wall Terraces | ~180 XP, ~1,700 Amber per sweep |
Cliff Facing Tower contains several Golems and a Deer, and the recommended approach is to kill the Golems quickly — they can kill the Deer before you get to it, costing you part of the reward. Flower Field Tower has multiple enemies clustered just outside its nearby campsite, which makes it a convenient fast-travel loop once you've cleared it once.
The exploration loop that beats grinding
The core insight from tested farming guides is that standing in one spot and grinding kills is the slow way to get Amber. The faster route treats every new area as a sweep:
- Enter with Koo active so his cues can flag hidden strongboxes as you move.
- Follow butterfly trails as a detour rather than a destination — they add up along the way.
- Break every Amber Crystal you pass without going out of your way for isolated ones.
- Clear only efficient fights — packs near a campsite you'll revisit anyway, not scattered singles across the map.
- Return to a trader periodically and convert spare trinkets and duplicate gear into Amber rather than letting inventory sit unsold.
This matters more once you're deciding between build directions on our builds guide, since weapon and Spirit Stone experimentation both cost Amber — a steady exploration-based income means you can actually try a second build without feeling like you're starting your economy over.
What to spend Amber on first
Prioritize weapon enhancement at the Workbench early, since upgraded gear compounds — it makes every fight afterward faster and safer, which in turn speeds up your farming loop. Hold off on Spirit Stone duplication (see our Spirit Stones guide) until you've settled on a build direction, since duplicating a stone you later drop is wasted Amber. Attribute resets via the Cleanse Walker Communicator are cheap enough to use experimentally once unlocked, so don't be afraid to respec if a build direction isn't clicking.
Common mistakes
- Standing in place to grind a single enemy pack. The exploration loop above consistently outpaces static grinding according to tested guides.
- Skipping Amber Butterflies because they seem minor. They cost almost no detour time and add up over a full playthrough.
- Hoarding trinkets instead of selling them. Junk items convert to Amber at traders and otherwise just sit in your inventory.
- Duplicating Spirit Stones early. It costs more Amber than finding or buying the stone again, and locks you into a build choice.
Amber farming FAQ
What's the single fastest way to farm Amber?
Sweeping a region with Koo active for hidden strongboxes, while breaking Amber Crystals and collecting Butterflies along your route, tested faster overall than parking at one enemy spawn and grinding kills.
Are Amber and Skill Amber the same thing?
No. Amber is the general spendable currency this guide covers; Skill Amber is a separate item tied specifically to Koo's growth line. Don't apply this guide's farming routes assuming they'll also fill your Skill Amber stock. Not confirmed: the specific Skill Amber acquisition method wasn't detailed in the sources used for this page.
Is there a level-gated Amber farming spot later in the game?
The two named spots above are both early-to-mid game (Chapters 1 and 3). Not confirmed: no later-game equivalent location was confirmed in the sources used for this page — check our walkthrough hub for chapter-by-chapter progression in the meantime.
Does selling Spirit Stones help my Amber income?
Yes, in a pinch — see our Spirit Stones guide for which ones are safe to sell versus worth keeping.
Related guides
- Spirit Stones guide — effects and sell list
- Builds & skill trees
- Koo commands & skills, explained
- Beginner guide
- The Cleanse Walker — where your Amber gets spent
Sources
- Game8 — How to Farm Amber (Money) (named locations, income sources, spending priorities)
- Nerd's Chalk — Amber Guide: Uses, Best Method, and Upgrade Tips (exploration-loop methodology)
Last reviewed: September 10, 2026 · Exact Amber totals per farming run will vary by level and difficulty; treat the estimates above as directional, not guaranteed.